Why Clean Your Keurig with Vinegar?
Your Keurig coffee maker is your morning hero, but over time, it can build up mineral deposits, coffee oils, and other residues that affect its performance and the taste of your coffee. Regular cleaning is essential to keep your Keurig in top condition, and using vinegar is one of the easiest and most effective ways to do it. Here’s how to clean your Keurig with vinegar.
Vinegar is a natural, non-toxic cleaning agent that effectively removes mineral buildup (like calcium) and sanitizes your Keurig. Unlike harsh chemicals, vinegar is safe to use in your coffee maker and leaves no harmful residues behind.
How Often Should You Clean Your Keurig?
For optimal performance and taste, it’s recommended to clean your Keurig every three to six months. If you use your machine daily, you might need to clean it more frequently.
What You’ll Need:
Step-by-Step Guide to Cleaning Your Keurig with Vinegar
Step 1: Empty the Water Reservoir
Start by turning off your Keurig and unplugging it from the outlet. Then, remove the water reservoir and empty any remaining water.
Step 2: Disassemble Removable Parts
Take out the K-cup holder, drip tray, and any other removable parts. Wash these parts with warm, soapy water, then rinse and dry them thoroughly.
Step 3: Fill the Reservoir with Vinegar
Fill the water reservoir with white vinegar until it’s about halfway full. If your Keurig hasn’t been cleaned in a while, you can fill it entirely with vinegar for a more thorough clean.
Step 4: Run a Brew Cycle
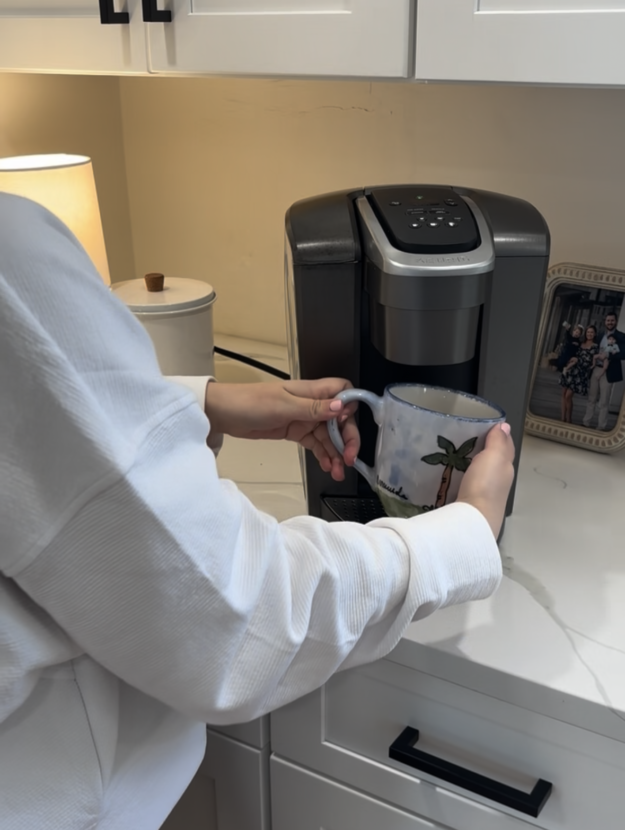
Place a large mug on the drip tray and start a brew cycle without inserting a K-cup. Let the vinegar run through the machine as if you were brewing coffee. Repeat this process until the reservoir is empty. This will help remove any mineral deposits and coffee residues.
Step 5: Let It Sit
Once the vinegar has run through the machine, let your Keurig sit for about 30 minutes to an hour. This allows the vinegar to break down any remaining buildup inside the machine.
Step 6: Rinse with Water
After the waiting period, empty the remaining vinegar from the reservoir. Rinse the reservoir thoroughly with fresh water, then fill it up completely with water.
Step 7: Run Multiple Water Brew Cycles
To remove any remaining vinegar taste, run several brew cycles with just water. Continue this process until the water runs clear and there’s no vinegar odor.
Step 8: Wipe Down the Exterior
While your Keurig is completing the water brew cycles, use a clean, damp cloth to wipe down the exterior of the machine, including the display and buttons.
Step 9: Reassemble Your Keurig
Once the cleaning process is complete, reassemble the removable parts and your Keurig is ready to brew fresh, delicious coffee again!
Cleaning your Keurig with vinegar is a simple and effective way to maintain your coffee maker and ensure you’re getting the best-tasting coffee every morning. By following this easy routine every few months, you can keep your Keurig in top shape and extend its lifespan. Enjoy your next cup of coffee with the confidence that your machine is clean and ready to deliver!


